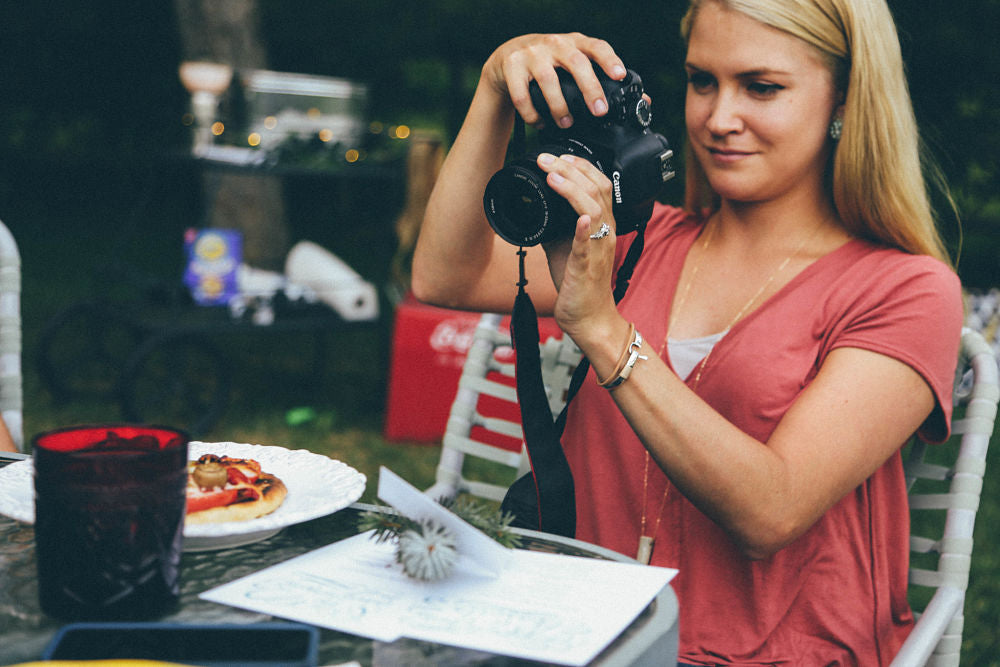
The days are getting shorter, the nights are getting longer, the temperature’s starting to cool off, and hints of fall are everywhere. This month’s DIY project is perfect for the changing of the seasons. To celebrate the perfect weather, we decided to create our own delicious treats for a fabulous food photography lesson with photographer Becca Shunkwiler!
1. Stick to natural light (as much as you can).
If you’re inside, shoot near a window with a white sheet to diffuse the light. Back lighting and side lighting are great techniques to show a food’s unique texture. If you’re outside, make sure to position your subject in indirect sunlight.

2. When you’re ready to compose your photograph, start simple.
Try to arrange your subject against a plain background at first, then add details (like decor or utensils) one at a time. When deciding which elements to include in your shot, grab some of the ingredients to photograph next to the finished product.

3. Simulate the eater's point of view.
Try shooting your dish from a bird’s-eye view, or from a 45 degree angle, to show was food would look like if you were the one chowing down. Our pizza was pretty flat, so a bird’s-eye shot is super appealing. To show some depth or height, try looking at it differently.


4. Narrow the depth of field to highlight the subject of your photo.
A lower aperture will help you achieve a blurred background, highlighting a specific element of the food that you want to showcase above the rest.

5. Show off what makes that particular food delicious.
Is it the crispy, melty cheese, or the fresh ingredients picked fresh from the garden? Focus on those elements and your final product will be truly mouth-watering.


Have a question for the team about food photography? Want to give these tips a try for yourself? Comment below or give us a shout on Instagram @nationsphotolab!


