Guest post by Chris & Allie Bartelski of The Reason Photography:
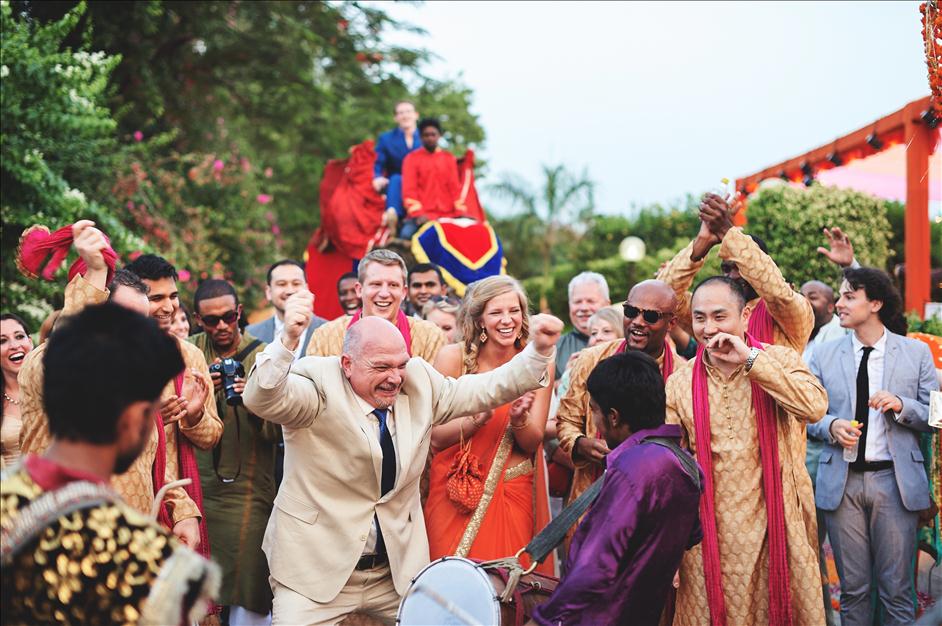
It’s funny how the one really important part of the wedding is often the last thing we think of when shooting weddings. Couples usually buy big prints of portrait shots, and even in albums, the ceremony isn’t the main focus.
The good thing about this is that it takes the pressure off of you, the photographer, and it also allows you to experiment a little more than you would during other parts of the wedding.

Of course, there are certain shots that need to be taken, but let’s face it, a ceremony can be kind of boring from a photography standpoint. It’s basically two people standing in the same place for a really long time.
Here are a few tips to help you get the most out of your wedding ceremony photos:
1. Make it a technology-free zone.
We’ve noticed that this is becoming more and more popular during wedding ceremonies. If you haven’t considered suggesting this to your clients, ask them to issue a no-phone/no-camera policy for guests during the ceremony.

This prevents the inevitable conflicts like Uncle Bob stepping out into the aisle when the bride is coming, or all of your wider shots being ruined by a sea of iPads being held up.

The best time to suggest this is after you feel that you’ve gained the trust of your clients, which could be right when you first meet them or after the engagement session.
The only downside is that it’s all up to you to capture the important moments, and therefore, I highly recommend that you never shoot a ceremony alone. Always have at least a second shooter.
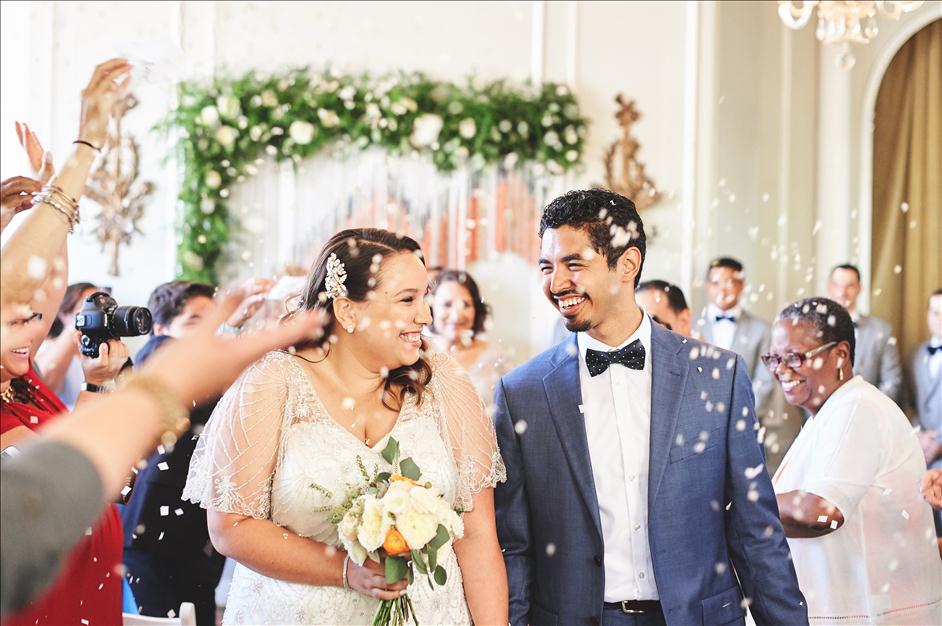
Another reason why a no-phone-no-camera policy is a good idea is that you are actually giving all the guests a chance to enjoy and experience the ceremony instead of staring at a 5-inch screen. They’ll be able to see the real thing in “super-real-because-it-is-real” HD.
It’s probably a thankless gift, but trust me, it is a great gift for all the guests. Guests might ask you where to see the photos after the wedding, so have some cards made out with links to your online gallery or let them know that the couple send out the link to each of the guests.

We always add our wedding images to the same online gallery as the couple’s engagement session. This way, the couple can use the same link from many months ago, and even include it on their wedding website.
2. Make an escape plan.
Always gather your team of photographers and walk through where each person is going to be during different parts of the ceremony.

Grab a copy of the program and go over it step by step: Who’s going to be up front to get the bride coming down the aisle with her dad? Where is the groom coming from? Who’s going to get the groom’s reaction when he sees his bride for the first time? Is there something special the couple is doing during the ceremony, like lighting a unity candle?
During the actual ceremony is not the time to talk to your team, and most likely you will be limited to communicating discretely via text or quick hand gestures (similar to what SWAT teams do in all the movies)!
We always have one person in front (if it’s allowed by the ceremony venue) to get the bride and her dad. We also have a person in the back to get the back of the bride and her dad. This series of shots can be tricky, as both photographers can easily appear in each other’s shots. If we haven’t shot a venue before, we will mentally mark off by looking through our cameras where each photograph is or isn’t in each other’s shot.
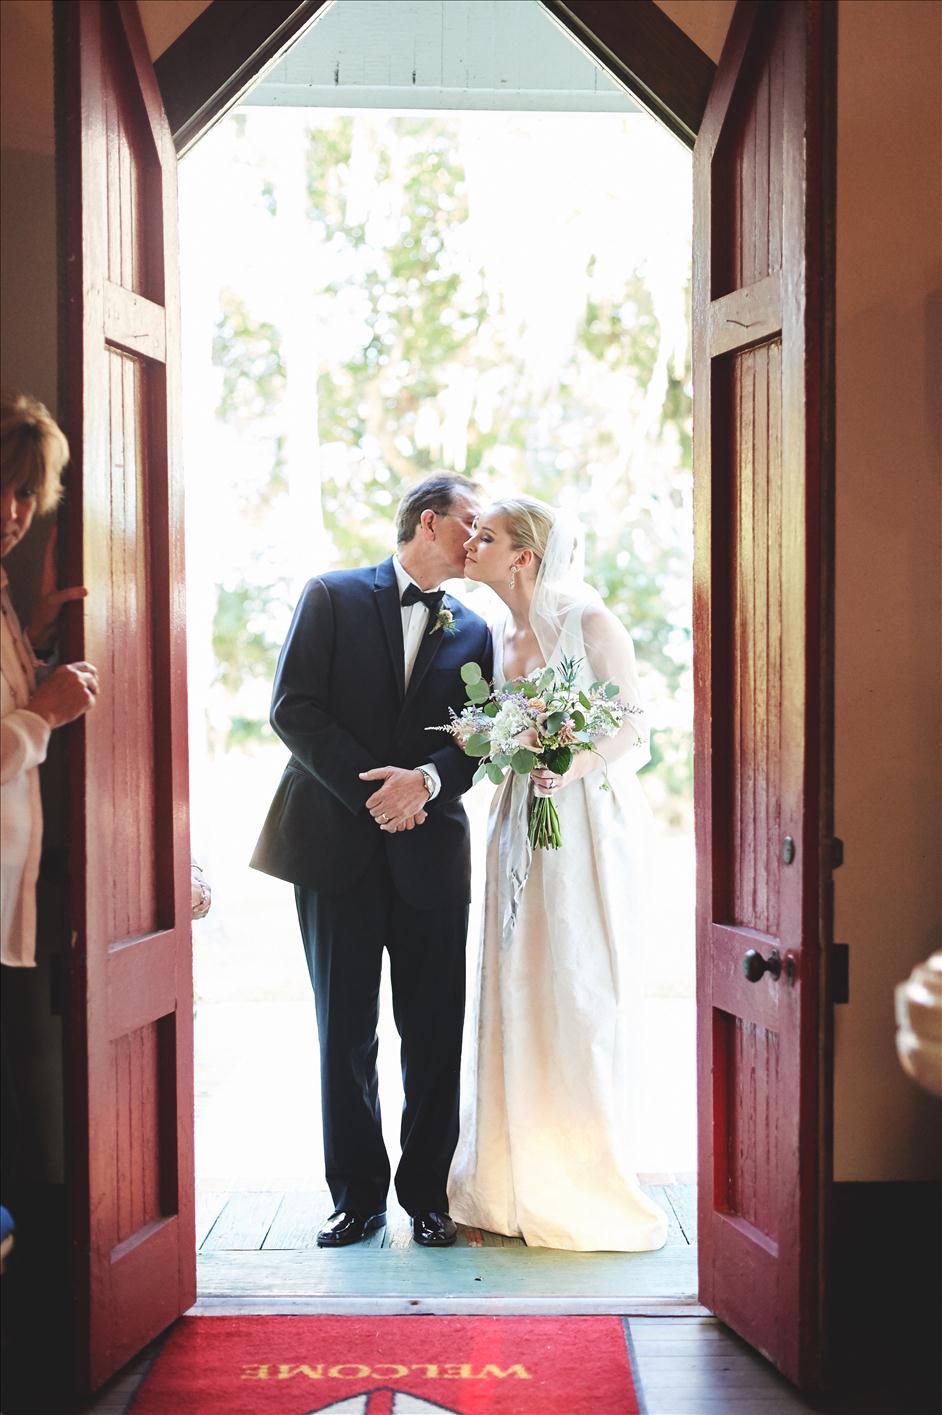
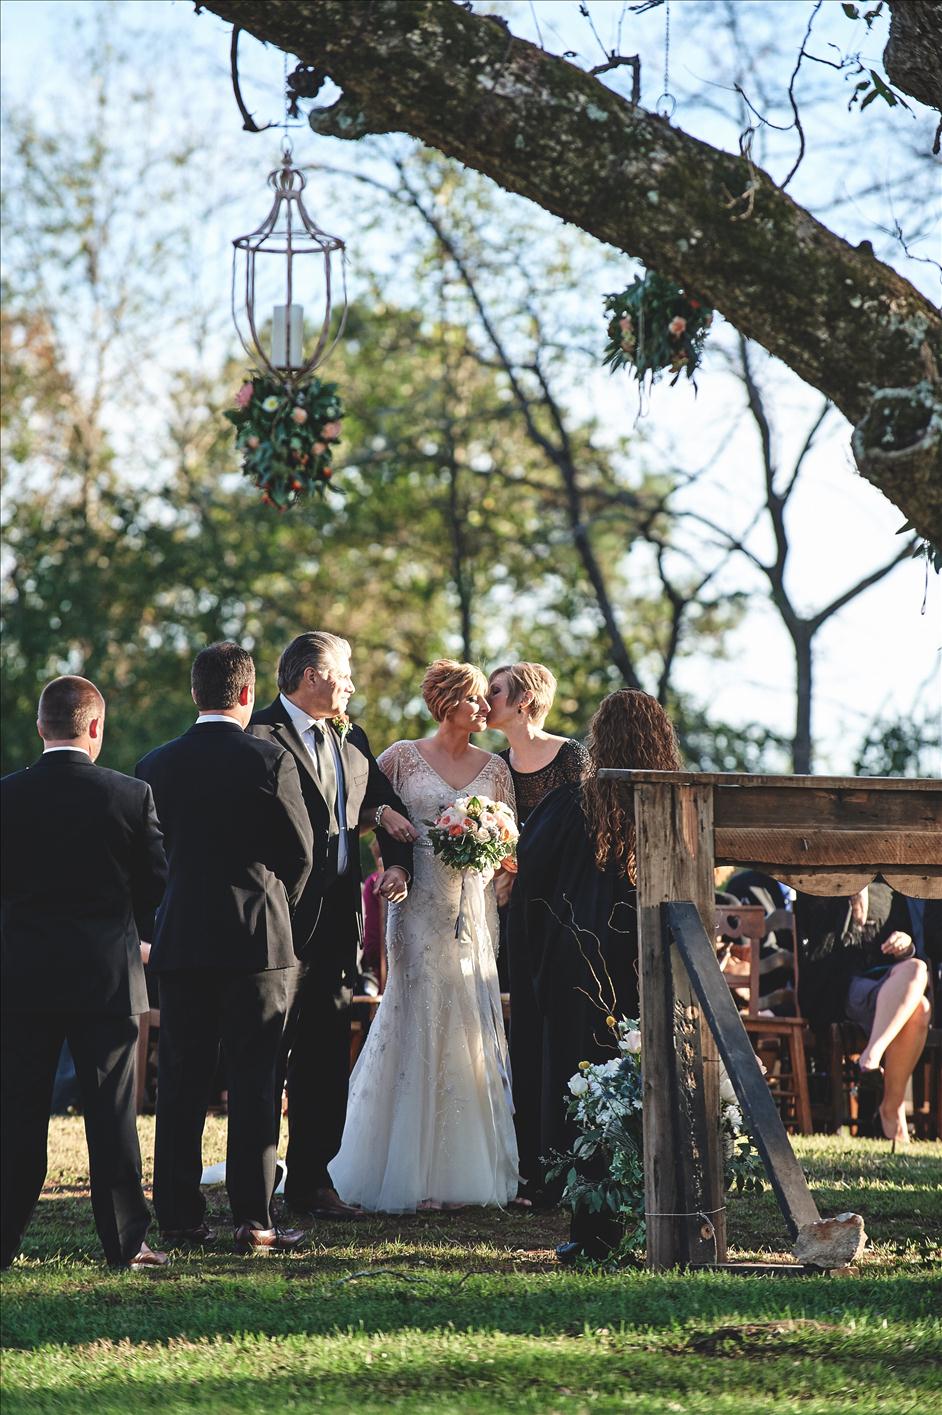
This process doesn’t take long and you’d be surprised how much easier the ceremony goes for you and your team if you have pre-planned your steps. The worst case scenario, if you don’t have a plan, is that you end up getting stuck somewhere conspicuous in the ceremony site, and then you’re that guy or girl…
Don’t be that guy or girl!
3. Shoot through stuff.
We’ve already mentioned that ceremonies are basically people standing in front of other people for a long time, so how many different shots can you really get?
One easy (and kind of fun) thing to do is to shoot through objects that are at the ceremony site. Honestly, it’s a fun little game to play with yourself. Flowers, chandeliers, bushes and even people will work.

It's easy to get the safe shots - and, of course, PLEASE get the safe shots - but after that, have fun. If you get one shot wrong, chances are that the couple will still be standing there for another 15 minutes. Again, get the safe shots first and then see what you can come up with.
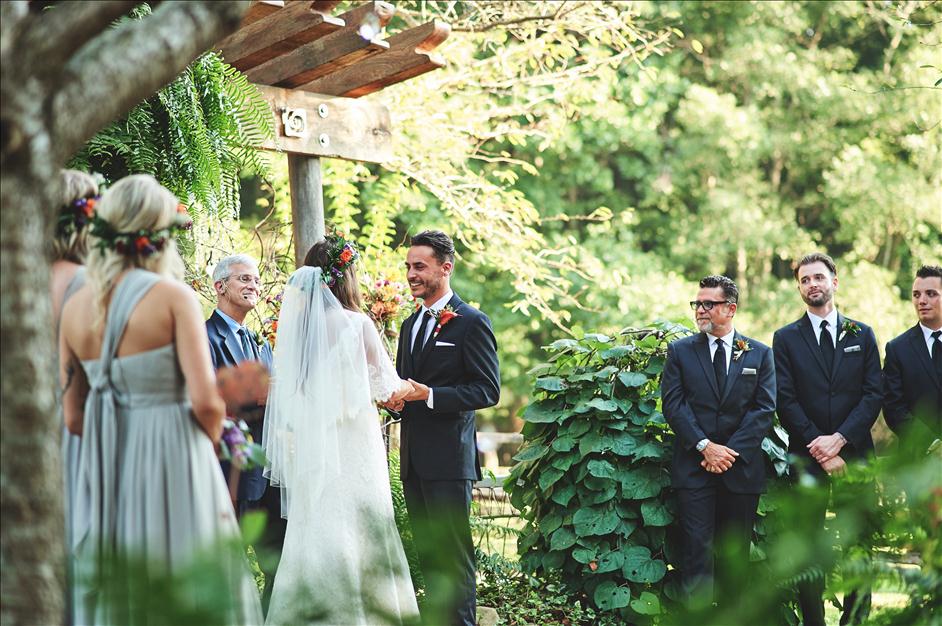
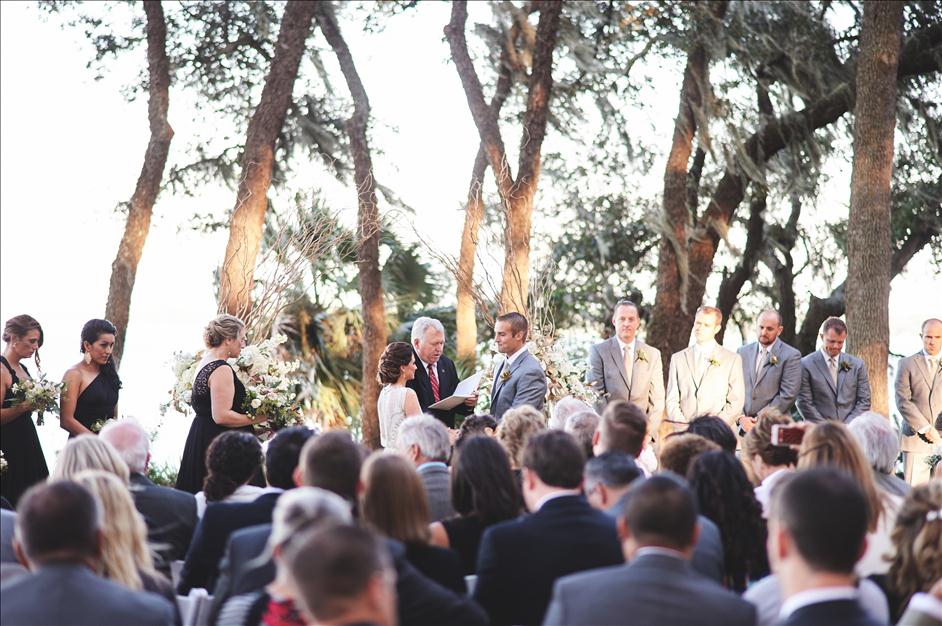
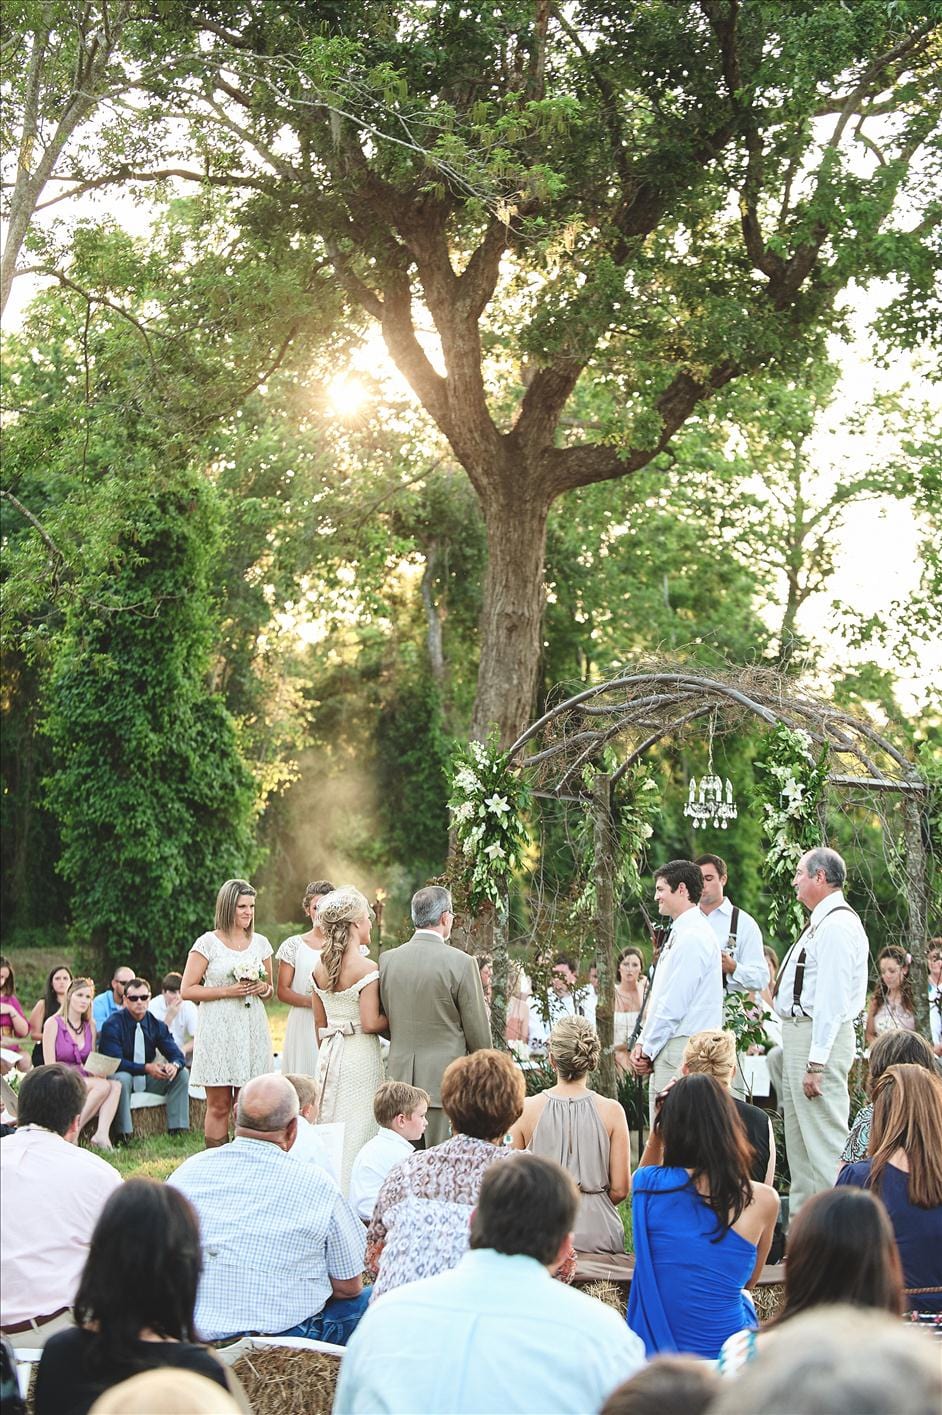
One of my recent favorites is to get at the same level as the guests with my lens and shoot from their perspective, looking and shooting through the gaps between guests that sit in front of them. I really love the way these photos capture the experience, and it really ties the guests in with the couple.

Another great shot I have been trying lately is letting Allie get the “safe” kiss photo from down the center aisle while I get it from a 45-degree angle. This way, the photo really pulls the guests into the resulting photos, which adds a lot of emotion.

Did I mention yet that you should always get the safe shots first?
4. Capture the key players.
Before the ceremony gets started you’ve probably already figured out who the key players of the day are - parents, grandparents, siblings, the maid of honor, and the best man. Besides getting lots of pictures of the couple, you should make a good attempt to capture each of these people during the ceremony.
These folks are the most likely to show emotion and get you those golden-ticket shots.


Parents can be the hardest to capture as they tend to sit up front, and you don’t want to be that guy/girl that stands in front of wedding party taking pictures. I find taking pictures of parents from the side aisle is better anyway. Again, plan on how you’ll be able to move around before the ceremony starts.

Here are a few additional quick tips…and remember, I am speaking from experience. I didn’t do a lot of these, and it made photographing way more difficult:
5. Wear shoes that aren’t loud.
I love my dress shoes, but in a church with wood or stone floors, they can be very loud.
6. Know the venue.
If you get stuck in the balcony of a huge church, you’ll want to have a long lens to be able to get the shots you need. Renting a 400mm lens isn’t that expensive.

7. Learn the venue's photography-related rules.
Communicate with the bride before the ceremony about how they limit what type of shots you can take. For instance, not all churches allow you to take pictures from the front of the church. It’s better to let the client know about things like this before they wonder why you didn’t get a certain shot.
8. Always be able to get to your camera bag.
Need a battery, a new memory card, or a different lens? You don’t want to be stranded in no man’s land mid-ceremony.
9. If possible, use a fresh memory card and a fresh battery for the ceremony.
The ceremony is basically the only thing you can’t reshoot or pause if you’re having a technical issue.
10. Remember...
This part of the day is really what it’s all about, so don’t write it off as boring. Rise to the challenge!


