Guest post by Nations Photo Lab Featured Photographer Nick Hoeller of Hoeller Photography:
If you've seen the photography installations at coffee shops, art galleries, and local restaurants and wondered to yourself, "How do I get my work up there," you're certainly not alone. Exhibiting your photographs is such a fun and rewarding experience, and it's easier than it seems to set up. Here are a few tips on how to land your first exhibit, just like I did!
1. Find a place to show off your work.
Although it sounds kind of daunting, this step is easier than it sounds (seriously). Local coffee shops, libraries, and small businesses are ideal. This will give you a chance to get recognized locally and keep your costs low, as these places might not even charge you for the space.
When I planned my exhibit, I looked at my local library first. They offer a whole floor for people to display their photography and art at no cost. So be confident, ask around, and I’m sure someone will give you a chance!
2. Select a theme.
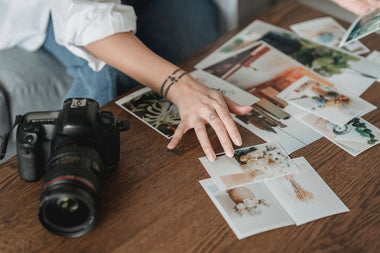
Picking your best photos is a must when planning your exhibit. This is your time to show everyone what you've got. Be sure to have someone else review your choices, as they might like something else than what you picked.
With any photo installation, it's helpful to stick with an overarching theme. For example, since I’m a landscape photographer based in Ohio, I chose to display landscape photos only taken in Ohio. This will help locals relate to the photos more than having different shots from all around.
Once you have picked your best photos, narrow it down to about 10-20. I chose 15 photos (I easily could've added more), but you don’t want to overwhelm the space you're using. When you have everything picked out, you’re ready to move on!
3. Print and frame your photos.
When it came to printing my photos, I opted to send them to a lab. I chose Nations Photo Lab to print my exhibit photos as I have always gone to them for any kind of printing. The quality of lustre prints is phenomenal; it really shows off the colors and sharpness. I chose the 11x14" prints for my installation - they’re not too big, nor too small.
Frames can add both size and dimension to your photos, and the mat made them look like expertly finished pieces of artwork. Be sure to keep a close eye on the inside of the glass for lingering dust particles or hair strands. People tend to look closer at art that is part of an exhibit than at purely decorative art pieces.
4. Install your framed photos.
Now that you found a place to display your work, picked your best images, and printed them, now what? It’s time to set up your first exhibit!
Hang your frames carefully, clean the outside of the glass, and make sure nothing is crooked. People who see your work will possibly want to purchase some prints, so if there's a table nearby, make sure to leave some of your business cards. Also, you can encourage people to leave their name, email address, and a comment or two by leaving behind a guest book. This is a great way to collect feedback from random people about your work (and, typically, a nice boost to your self esteem).
In the end, having an exhibit is a great way to get your name out there as a photographer. Whether it’s in a small venue or a large one , it’s always nice to see YOUR photography hanging up somewhere local.
Don’t be scared to get out of your comfort zone and ask people for space. You never know where it can lead!


