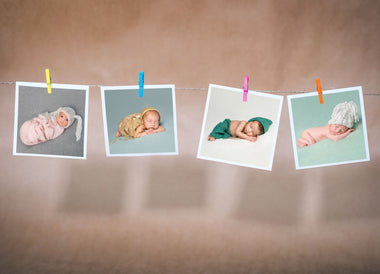
As a photographer, creating a mood board can be an incredibly valuable tool when planning a photo shoot. A mood board is essentially a collection of visual inspiration that you can refer back to throughout the process of planning and executing a shoot. In this blog post, we'll discuss how to create a mood board for your photo shoot and why it's important to have one for your clients.
Why should you create a mood board?
Creating a mood board may seem like an extra step in the planning process, but it can actually save you time and money in the long run! By having a clear vision for your photo shoot and communicating that vision with your clients, you can avoid misunderstandings or miscommunications that could result in wasted time or resources. A mood board can also help you stay focused and inspired throughout the process of planning and executing a shoot. By having a visual reference to guide you, you can make decisions more confidently and efficiently.
How to create a mood board
Step 1: Determine the Concept
Before you can start putting together a mood board, you need to have a clear concept in mind for your photo shoot. This could be anything from a specific theme or style to a particular location or subject matter. Once you have a solid concept in mind, you can start gathering inspiration that reflects the mood and aesthetic you want to achieve.
Step 2: Gather Inspiration
There are a variety of ways to gather inspiration for your mood board. You could start by searching for images on Pinterest, Instagram, or other photography websites. Look for images that reflect the mood, style, and color palette you want to achieve in your photo shoot. You can also gather inspiration from other sources, such as movies, artwork, and fashion. Look for visual elements that you can incorporate into your shoot, such as interesting textures, patterns, or color combinations. To get you started, here's some mood board inspiration on Pinterest!
Step 3: Organize Your Inspiration
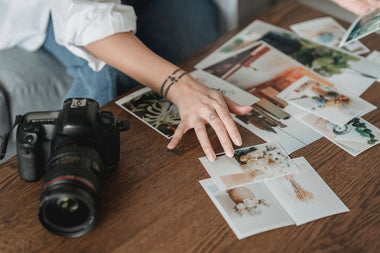
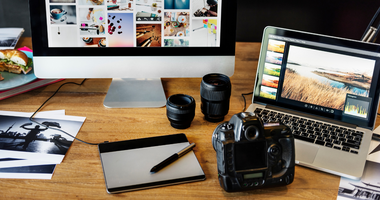
Once you have a collection of images that inspire you, it's time to start organizing them into a cohesive mood board. You can use a variety of tools to create your mood board, such as Pinterest, Adobe Photoshop, or Canva. Arrange your images in a way that makes sense to you, grouping them by color, texture, or subject matter. You can also include text or other design elements to help convey the mood and style you're going for.
Step 4: Share Your Mood Board with Clients
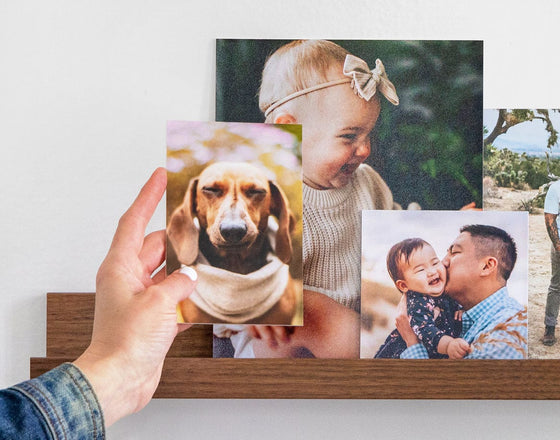
Once you have a final mood board that you're happy with, it's important to share it with your clients. This will help ensure that everyone is on the same page when it comes to the vision and aesthetic of the photo shoot. Your mood board can be a valuable tool for communicating with your clients and setting expectations for the shoot. It can also help you make decisions about things like wardrobe, makeup, and props. To really make an impression, print your mood board before your client meeting so they can really get a good feel for your creative concept and keep it with them to remember you. We recommend getting an 8x10” Mounted Print for easy traveling and less chance of any photos getting bent. In general, creating a mood board is an essential step in the planning process for any photo shoot. By gathering inspiration, organizing your ideas, and sharing your vision with your clients, you can ensure that everyone is on the same page and that your shoot is a success.
Check out these blogs for more Photography Business Tips!
Shop our Photo Prints, Wall Decor, Photo Gifts, and more!
