Guest post by Stacy White Photography
Sports photography is a fast-paced and action-packed area that covers every aspect of the sport. From warmups to game-winning celebrations, there are many different things to focus on. All of this may seem a little daunting, but below are a few tips to get you started.
What gear will I need for Sports Photography?
Unless you are lucky enough to have a daytime sport to photograph outside, you will quickly learn that lighting on fields and gyms is not ideal for photography. You’re going to need a fast lens, preferably an f/2.8 or better lens. Depending on the sport and how far away you will be will determine the lens you need. To start with, the 70-200mm is a great lens. If you’re going with a larger, heavier lens you’ll definitely want to bring a monopod to be able to help keep your camera steady. You will most likely be taking more images than you think trying to capture the action, so also go with a large memory card, and pack an extra one to be safe. The same goes for batteries!
What settings should I use?
To start, you’re going to want to photograph in shutter priority mode or manual mode. In shutter priority, you’re going to want a shutter speed of at least 1/1000 second to freeze the action. Unless you’re outside during the day, your aperture will be at 2.8 and you’ll need to adjust your ISO to achieve proper exposure. If you are photographing outside around dusk or in harsh light where the athletes are moving in and out of shadows on the field, you may want to use auto ISO instead of manually adjusting to make sure you have proper exposure in changing lighting conditions.
Using Back Button Focus
If you don’t currently use back button focus, you’ll want to give it a try for sports photography. This means that you have a dedicated button (usually the AF-ON) on your camera that will focus your shot instead of pressing the shutter release button. This makes a huge difference in capturing faster-moving objects in focus.
Using Continuous Focus Mode
Speaking of focus, sports move quickly! Continuous focus mode will let you track the player and refocus on your subject as it moves. This has different names depending on the brand of camera you use – on Nikon this is AF-C and Al Servo AF on a Canon. If you’re not sure how to change the focus mode, check your camera’s manual. If you have a built-in flash on your camera, make sure that it is turned off. It won’t help with your images and is very distracting and even dangerous for the players.
Photograph what you know.
Start with a sport that you know – either one that your kids play, one that you watch frequently, or even played yourself! It is a lot easier to photograph a game you understand where you can anticipate the action, instead of trying to follow it. You also need to be aware of places you can safely photograph to keep yourself and the athletes safe.
Photograph all elements of the game.
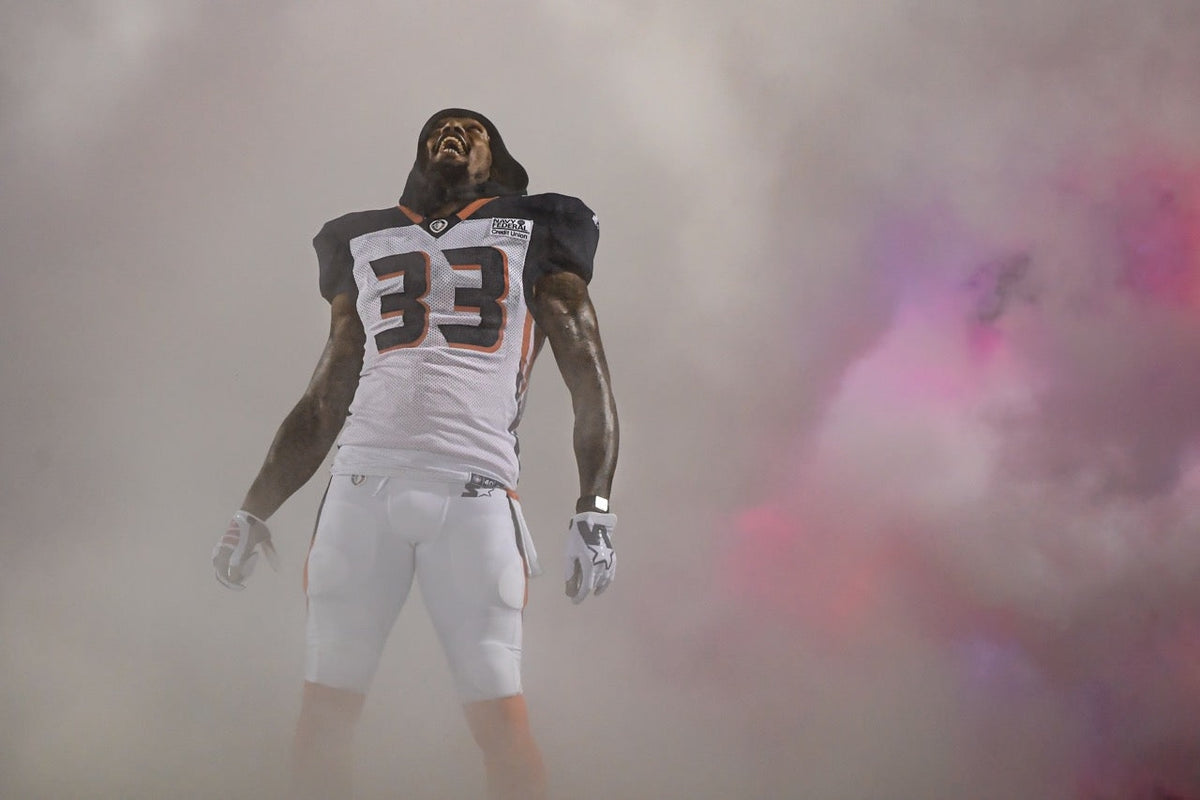
Keep in mind that there is more to sports photography than just game action. Make sure you take in the entire environment and capture images that tell the game's story. Most times when the action stops you’ll want to review your images but it’s better to wait until you get home for that – make sure you’re watching player interactions, the huddles with the coach, fans, and celebrations! Action photos are great, but sometimes these other parts of the game will be your favorite ones.
Get Low!
You can shoot sports from a standing position, but you would get more impactful images from a lower vantage point. Trying shooting on your knees! This makes the players look larger, jumps higher, gives you cleaner backgrounds, and allows you to get faces when they are looking down or wearing helmets.
Shoot what’s available to you.
Although everyone would love to shoot professional sports, photograph what is around you! Little leagues, club or recreational leagues, and high school sports are all great places to start. This will give you a great opportunity to practice, as well as allow you to learn sports you may not be familiar with.
After the game…
When you get home and start downloading your images, the first thing you will probably realize is you have more images than you expected. You will find that you shoot more images in sports than you will in almost any other area of photography - this is normal and usually will be more helpful in getting images you’re happy with. Looking at your images in full resolution (at 100%) on your screen will allow you to check if your image is in focus and sharp. Shooting at a low aperture means that sometimes your focus will be off and you will find that you’ve captured a defender or maybe someone on the bench behind the action. Take this time to focus on how your shoot went. What did you do that worked out well? What do you wish you had done differently? Did you get the very beginning of a cool celebration but stopped shooting? Do you have good action shots, but you can’t see the player's face in the helmet and maybe should have gone lower? These are all things that you can keep in your mind for the next time you head out to a game. Once you're happy with your photos, make sure to
get them printed and send to your clients or keep the memories for yourself!
Hopefully these tips will give you a place to start. Every time you go out you will have images you love, and images that make you want to sell your gear – it happens to all of us! Remember, sports photography is like any other type of photography – it takes time, practice, and patience.


