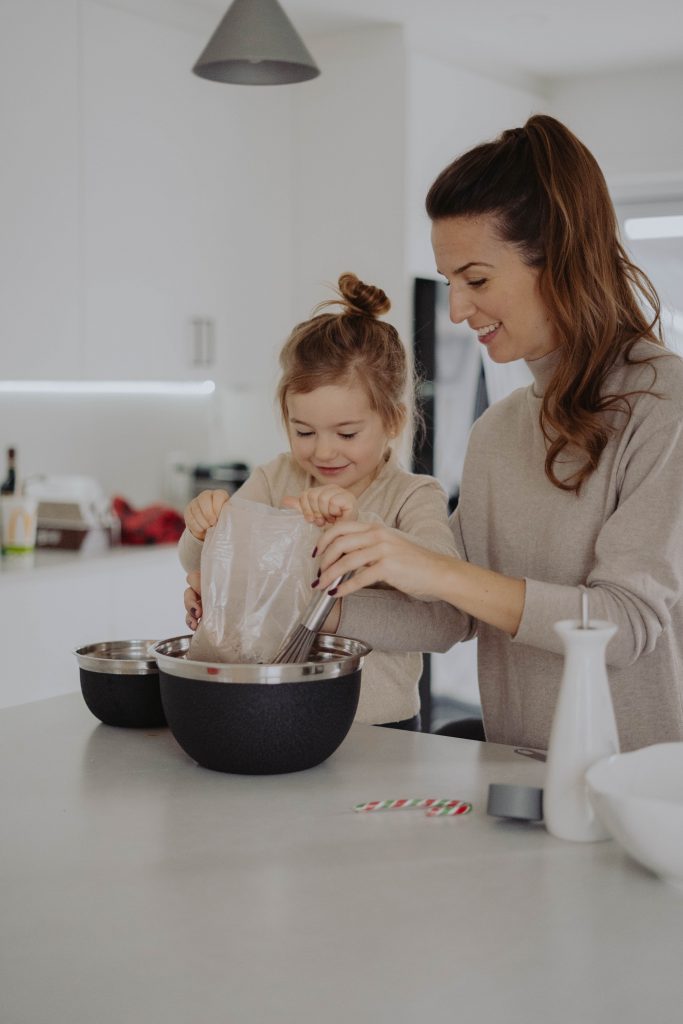
One of my favorite memories as a child was standing on a stool next to my mom as we made piles and piles of my favorite cookies: pizzelles, or traditional Italian waffle cookies. My mom taught me how to measure, mix, and then scoop the dough onto the pizzelle iron – all from a recipe that her mom showed to her. The best part of making cookies with mom? I always got to try them first, as hot and fresh as they could be.
Years later, as I was looking for that pizzelle recipe, I discovered that my mom kept all of our family recipes unorganized in a plastic bin in a closet. I knew she liked to keep her kitchen organized, so I thought I’d put all of the family recipes in a book for her as a gift.
Want to preserve your family recipes by saving them all in a book? Read on for our tips and tricks on how to do just that:
Gather & Scan
Like I mentioned earlier, all of my mom’s recipes were in a plastic container. So, they were in one place, but they weren’t organized at all – she just kept digging through piles and piles of recipes!
First thing you’ll want to do is to find all of your recipes and put them in a pile. Once you have everything, you can start the scanning process. For this, you can use your phone, a photo scanning app, or a more professional at-home scanner.
(Note: sometimes the apps don’t have quite the pristine quality as a professional scanner, but they’ll still work. Scanners are more expensive than your phone or the apps, so it all depends on your personal budget!)
Organize
Think about the popular recipe books that are on the shelfs. What do they have in common? They’re all organized by recipe theme! Going through your scanned images, start sorting your recipes into specific folders on your desktop or specific galleries on our website by what food type they fall into. Typical categories would include: beverages, appetizers, salads, lunch and dinner, and desserts.
Extra Imagery
Recipe books aren’t just the recipes themselves – they are often, if not always, accompanied with pictures! If you have pictures of the recipes already completed, great. If not, you can always source from Google or free stock imagery sites like Unsplash. File these images in those folders you made earlier alongside the recipes they correspond to.
Build
Now it’s time for the best part – making your recipe book! Before you enter the book builder, pick your book size, cover, and paper:
- Size: We offer 5x7”, 8x8”, 10x10”, 8.5x11”, or 12x12” Photo Books. For a recipe book, we recommend the 10x10” or 12x12” size.
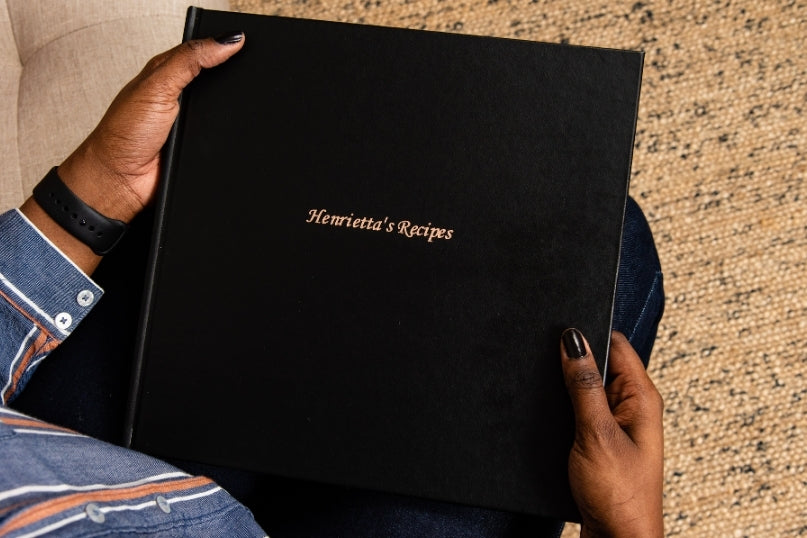
- Cover: For your cover, you can choose from a leather cover, linen cover, or photo cover. For my mom’s recipe book, I picked a brown leather cover and wrote Le Ricette di Dorothy on it in rose gold stamped foil.
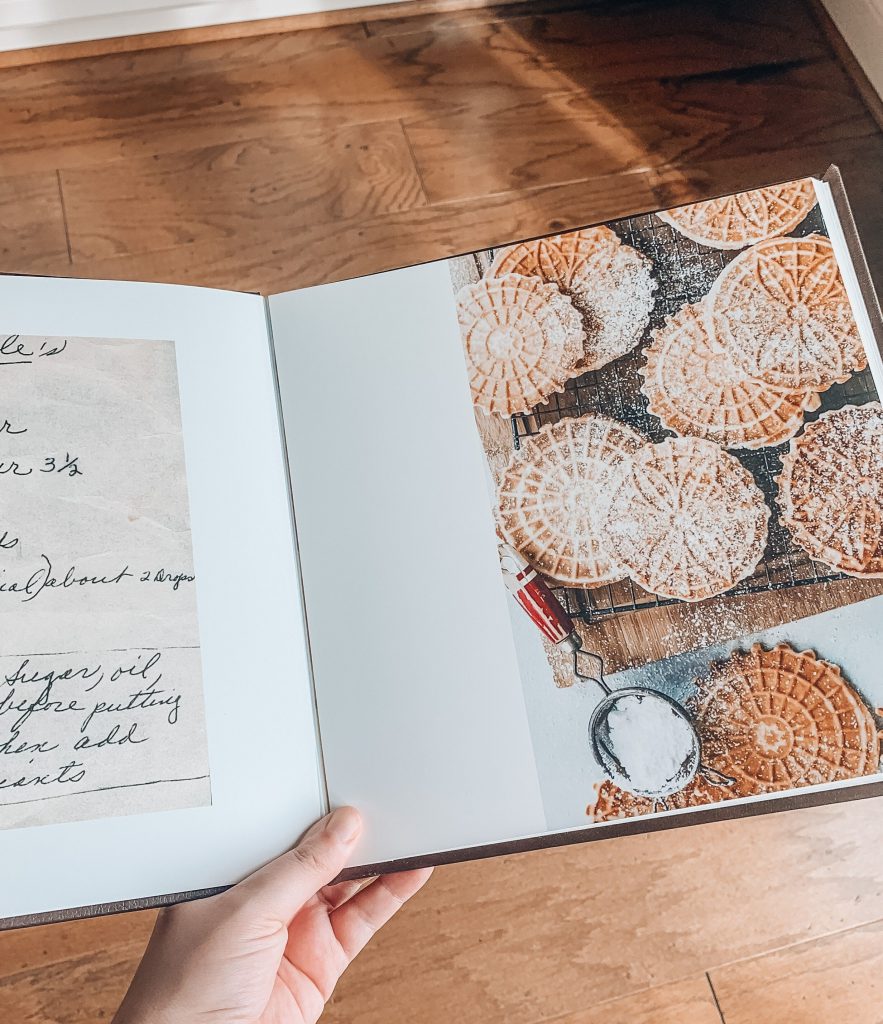
- Paper: We offer a few paper types, but for a recipe book, I recommend picking out Semi-Gloss Lay Flat paper. That way, your book will stay flat (or you can easily prop it up!) for easy viewing as you make your recipes.
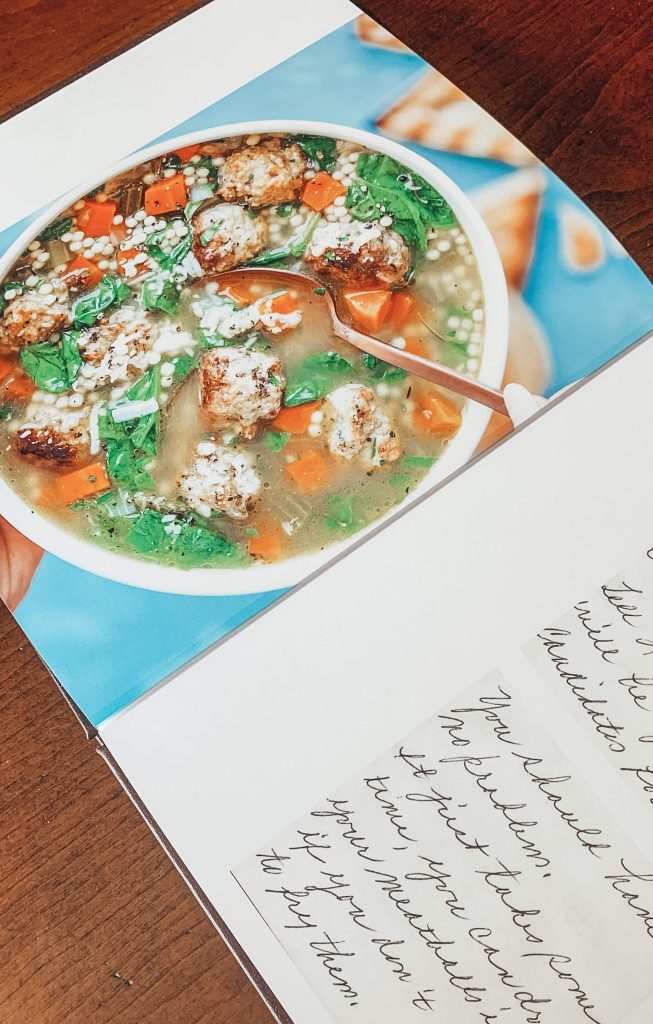
Click “Customize Now!” to start building your book. Since you already sorted your images, this will be an easy drag and drop process. Don’t forget to add section divider pages so it’s easier to flip through. And, maybe you’ve found some helpful tips for these recipes that aren’t on the originals – you can always add a textbox with these notes. Our Lay Flat books default with 20 pages, but you can add up to 60 pages!
A sentimental tip: While I was going through my mom’s recipes, I found a note from her mom on the back of a recipe for escarole (or Italian wedding) soup. It’s a complicated recipe, so her mom wrote her an encouraging note on making this recipe. I also scanned that note in and added it before the recipe in my book!
That’s it! Ready to start creating your Family Recipe Book? Head over to our website, where they start at just $29.00!


