Are your little ones always drawing cute pictures? Maybe you’ve already filled the entire fridge with your very own Picasso’s handiwork. You’re running out of space in your home, but you can’t bear to get rid of the artwork that your child so carefully made for you.
By putting your child’s artwork in a Photo Book, you can both preserve their hard work and save some space in your home! Here’s how:
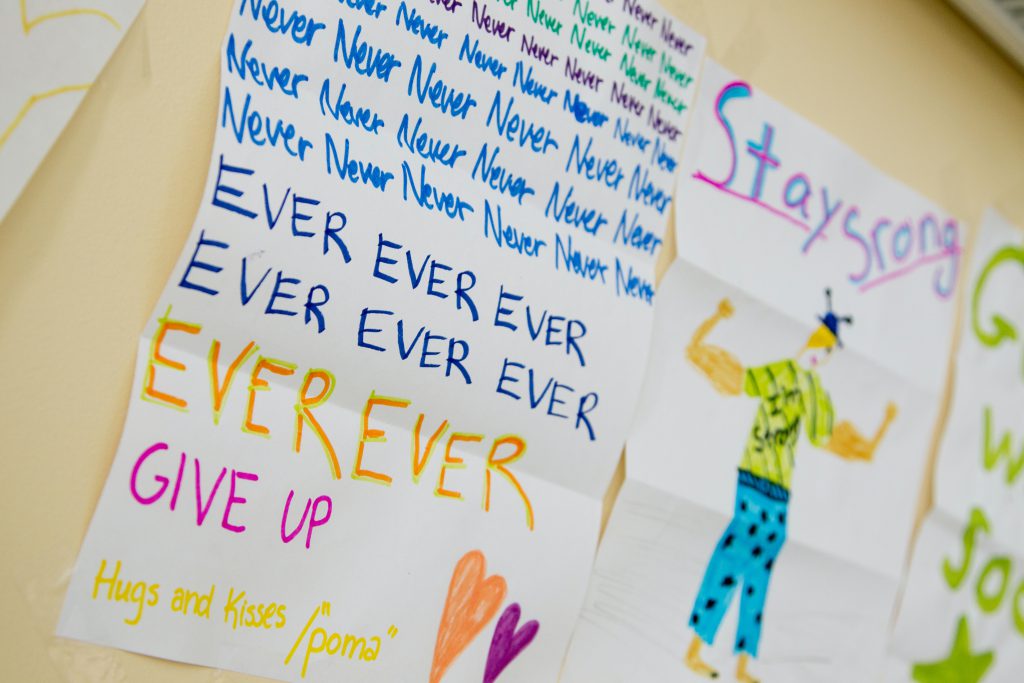
First, gather allll the artwork.
Take down every piece of artwork from your fridge, your child’s bedroom, your living room, or anywhere else it may be hiding. Don’t feel guilty about this! You’re about to preserve it to last for generations.
Next, get organized!
Now that all of your art is in one place, you can start organizing and sorting through what you’re saving. Decide which pieces are worthy to go in the book and which ones will go in storage. (Maybe there’s even a piece of that’s so good you want to get it framed! Set that one aside.)
At this stage, it’ll be helpful to start imagining how you’re going to organize your photo book. Do you want to group images by theme (portraits of the family, nature, et cetera)? Do you want to go in chronological order, so you can show the progression of their skills? Or, do you want to sort by medium (crayons on paper, stick crafts, et cetera)? It’s all up to you, but, sorting now will definitely help later.
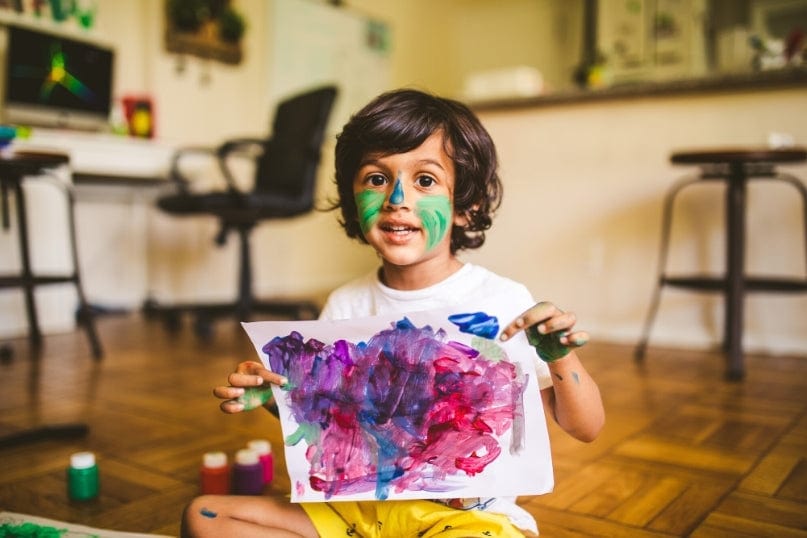
Scan all of the artwork.
It's time to start your scanning process! You can use an app like PhotoScan by Google Photo or a mobile scanner. When scanning, make sure to use a clean surface – free of any dust or particles – and also one that won’t have a busy background, like a floral rug or pleated tablecloth. This ensures that you’re getting the clearest image possible.
If you want to preserve an image of something that’s a bit more three dimensional, just use your phone to snap a quick pic!
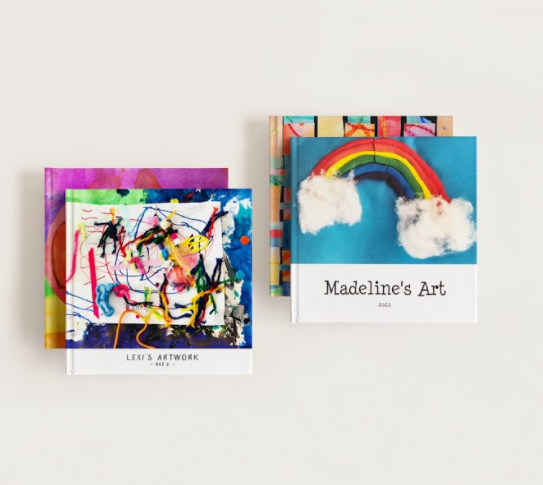
Start making your book.
Making a photo book filled with your child’s artwork is easy on our site. Here’s the basic ordering process:
First, choose the basics of your book:
- Determine the size you want. For a kids artwork book, we recommend 10x10”, 8.5x11”, or 12x12”.
- Pick your cover. We offer leather covers, linen covers, or a photo cover. Photo covers are nice because you can choose a photo of your child while they are drawing and add their name plus the year as the headline.
- Pick your paper type. You can print on Semi-Gloss, Pearl, or Linen. Plus, you can also make your Photo Book lay flat!
Second, start building! Pick from our pre-designed templates or go in with blank spreads so you can customize yourself. Here are some tips for customizing your book:
- Instead of adding a photo on the first page, why not add a textbox with information about your child? You can include their name, age, the range of art that this book covers, maybe what their interests are or what they like to draw.
- Upload your photos in the builder or choose from a previously made gallery. At this stage, your previous organizing will come in handy! You’ve already created the outline for the book, so you can just drag and drop your photos in.
- Make sure to save along the way. You never know if you’ll lose your Internet connection, so it's always best to periodically hit the “save” icon just in case. Plus, you can name the project so it’s easy to find if you need to come back to it later.
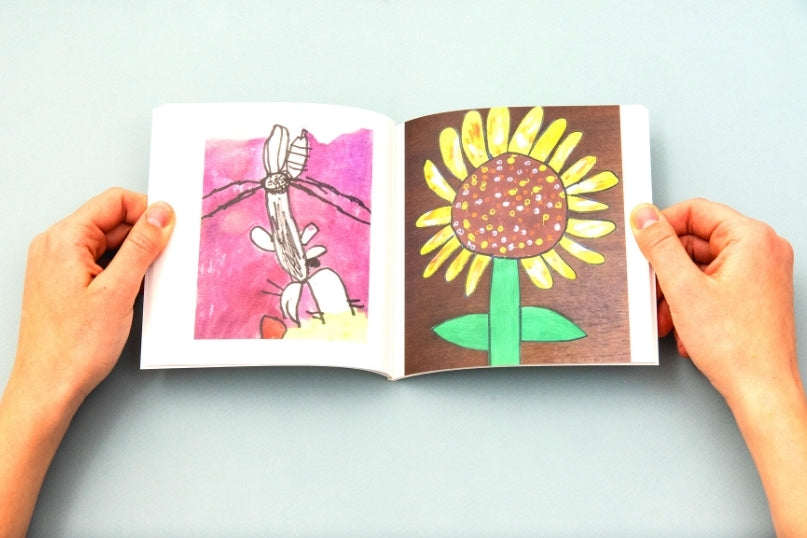
Once you’re finished building, all you need to do is checkout! Then your finished product of memories will be on its way to you.
So, now what do I do with all of these artwork hard copies?
Now that your child’s artwork is all in one place, you can take the hard copies and place them in a plastic storage bin with the rest of your storage. Your book can be placed on a shelf or your coffee table – easily accessible to page through whenever you want!
Ready to start creating your Child's Art Book? Head over to our website, where they start at just $29.00!


